Exposing MCP to AI Agents
Once your MCP server is set up in DronaHQ, you can expose it to your AI agents such as Cursor, Claude, Windsurf, and others for tool-specific interaction.
CLI Prerequisites
Ensure the following dependency is installed:
- Node.js (version > 16)
Check version by running:
node -v
Installation in AI Agents
For each AI Agent, follow the respective setup steps below using your MCP server details. Each tool supports two setup methods:
- Quick Setup (CLI): Copy and paste the server details directly into the command line.
- Manual Setup: Configure the tool by editing the appropriate configuration file.
During manual setup, you’ll need two essential credentials:
| Field | Description |
|---|---|
| Server URL | The endpoint of the MCP you wish to expose to the tool. |
| Authorization | JWT token used for authentication. This is required to access the MCP server. |
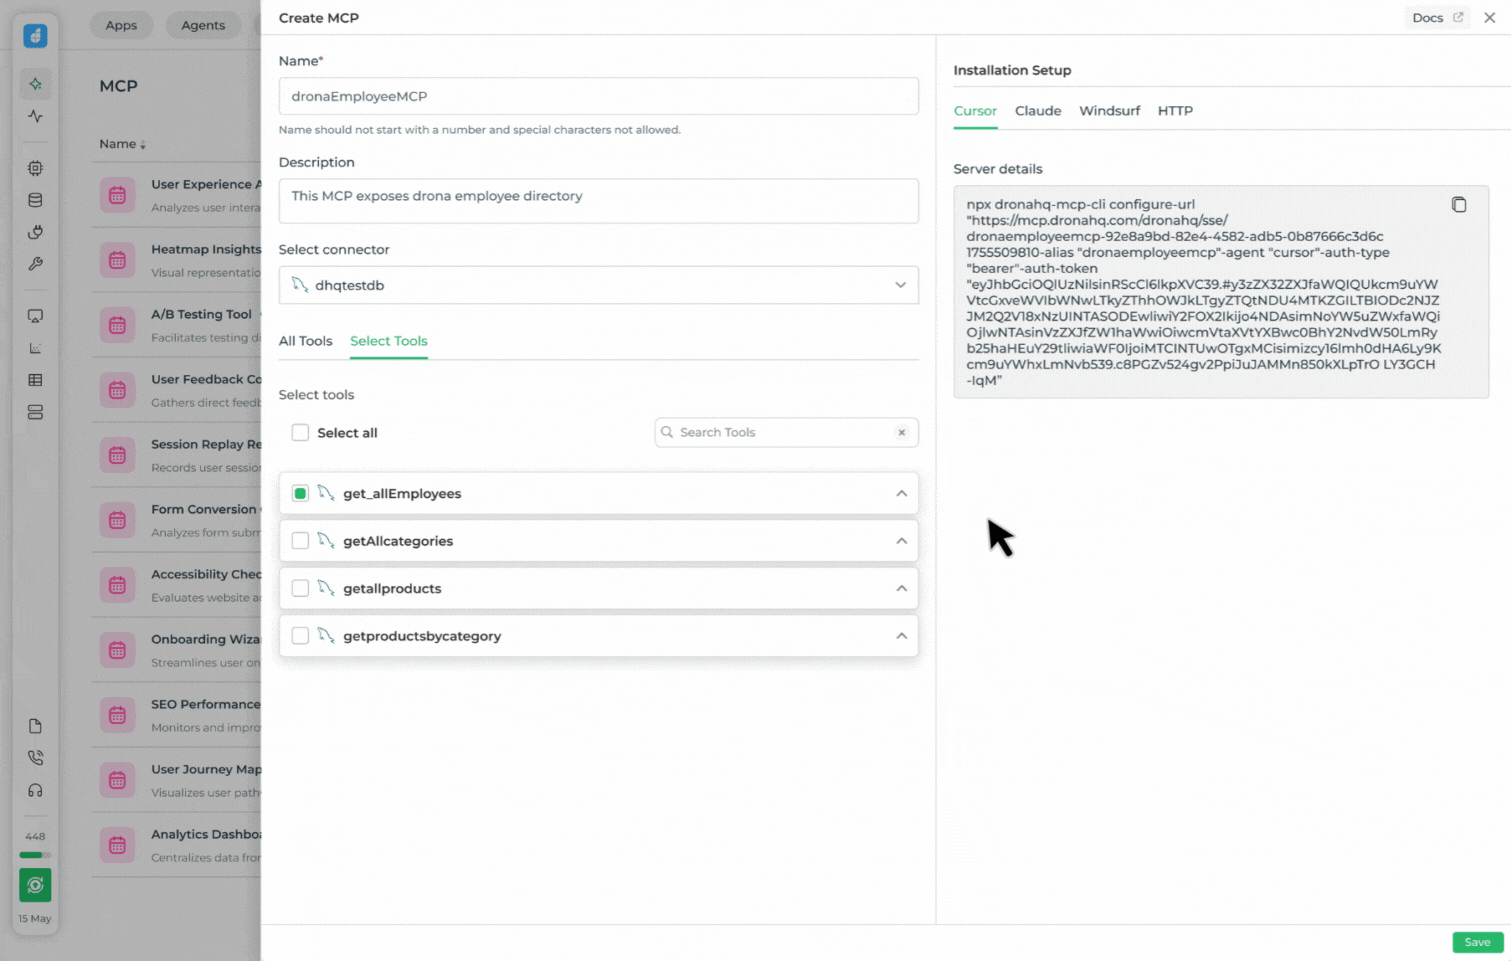
1. Cursor
Quick Setup via CLI
- Copy your MCP server details.
- Paste them directly into the terminal.
Manual Setup (HTTP)
Configuration File Path:
~/.cursor/mcp.jsonJSON Structure:
{
  "mcpServers": {
    "myMCP": {
      "url": "https://mcp.example.com/sse/my-server",
      "headers": {
        "Authorization": "Bearer <JWT_TOKEN>"
      }
    }
  }
}
2. Claude
Quick Setup via CLI
- Copy your MCP server details.
- Paste them directly into the terminal.
Manual Setup (HTTP)
Claude Code:
~/.claude.json(primary)Also supports:
~/.claude/settings.json~/.claude/settings.local.json~/.claude/mcp_servers.json
Claude Desktop:
- macOS/Linux:
~/Library/Application Support/Claude/claude_desktop_config.json - Windows:
%APPDATA%\Claude\claude_desktop_config.json
- macOS/Linux:
JSON Structure:
{
  "mcpServers": {
    "myClaudeMCP": {
      "url": "https://mcp.example.com/sse/my-server",
      "headers": {
        "Authorization": "Bearer <JWT_TOKEN>"
      }
    }
  }
}
3. Windsurf
Quick Setup via CLI
- Copy your MCP server details.
- Paste them directly into the terminal.
Manual Setup (HTTP)
Configuration File Path:
~/.codeium/windsurf/mcp_config.jsonJSON Structure:
{
  "mcpServers": {
    "myCustomServer": {
      "serverUrl": "https://mcp.example.com/sse/my-server",
      "headers": {
        "Authorization": "Bearer <YOUR_JWT_TOKEN>"
      }
    }
  }
}
4. VS Code
Configuration File Path: ~/.vscode/mcp.json
JSON Structure:
{
  "mcpServers": {
    "vscodeMCP": {
      "url": "https://mcp.example.com/sse/my-server",
      "headers": {
        "Authorization": "Bearer <JWT_TOKEN>"
      }
    }
  }
}
5. ChatGPT Desktop
Configuration File Path: ~/.chatgpt/mcp.json
JSON Structure:
{
  "mcpServers": {
    "myCustomServer": {
      "url": "https://mcp.example.com/sse/my-server",
      "headers": {
        "Authorization": "Bearer <JWT_TOKEN>"
      }
    }
  }
}